


A Guide to Chinking Repair: Removal and Reapplication
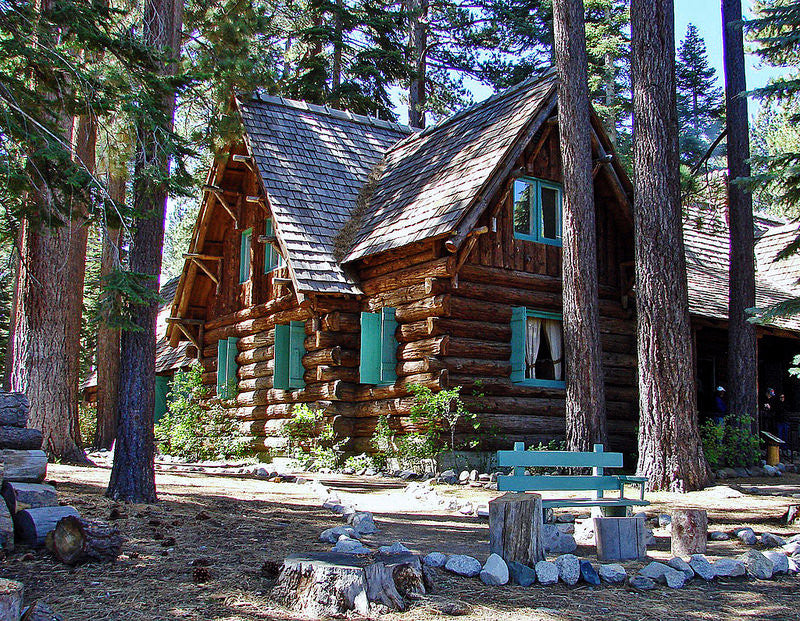
With its powerful ability to create water and air barriers, chinking keeps log homes intact and protects them from external issues. Since not all chinking products are created equal, however, choosing an inferior material can demand repair and replacement down the road. Follow this guide to chinking repair, removal, and reapplication, and learn how to perform log home maintenance that lasts.
How to Remove Outdated Chinking
If your log home is more than a decade or so old, chances are you'll need to identify and replace outdated chinking the moment this material starts to lose its efficacy. Whether your home relies on a standard construction product to fill the gaps between logs or a homemade mixture of clay and wood ash, most of these mortar-like substances will crack or pull away over time. You'll know it's time to take on this log home restoration project when you notice drafts between logs, pest or rodent nests, or missing areas in the chinking.
Start the repair process by removing all loose pieces of chinking and cleaning and sanding the areas where you've removed old chinking. If not all pieces of the old product separate from the joint easily, leave the old chinking in place and use as many backing rods as necessary to create clean surfaces for the replacement product. Whether you apply new chinking over an existing product or on a relatively fresh surface, you'll need to be sure that the joint is as clean as possible for optimal adhesion.
Choose Your New Chinking
Once you've removed all traces of the old chinking, it's time to apply fresh material. While some contractors might favor traditional mortar over expertly engineered chinking, keep in mind that if you'd used Weatherall Triple-Stretch Chinking in the first place, you wouldn't have to tackle this repair project now. When weighing the benefits of advanced products like those available through Weatherall, remember that they do much more than cover the essential bases. Triple-Strength Chinking also expands and contracts as necessary, so it can keep up with your home no matter what.
How to Apply New Chinking
To apply new chinking, start by cleaning the surface of the logs and removing any oils, urethanes, or other substances that might compromise the product's ability to adhere. Next, apply any log home stain or finishing products because they can discolor chinking if they're added later.
Next, fill a caulking gun or grout bag with your product of choice, and apply a bead of chinking evenly over the joint. Before the chinking has an opportunity to dry or settle, use a trowel to press the substance into the joint edges. Make sure the chinking adheres to the entire joint evenly in order to create a complete protective seal.
From assessing the scope of the log home repair problem to removing old chinking to applying a new product, chinking repair is an elaborate process. By following these steps carefully and using high-quality chinking, you can rest assured that the repairs you've completed are effective in protecting your home.
Image via Flickr by inkknife_2000


